How do I use the NLP PLAYER DECISION NODE feature?
Let's take a look at how to set up NLP Keyword Choices. First off, there are two ways to add them to your tree:
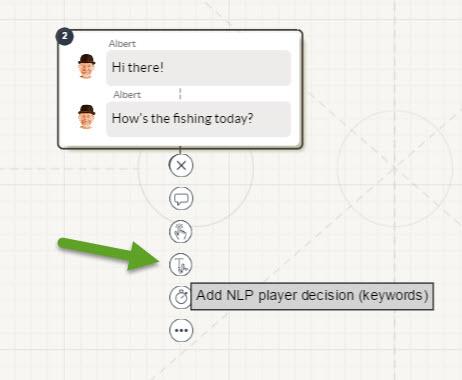
1. You can click on the NLP icon under an existing node:
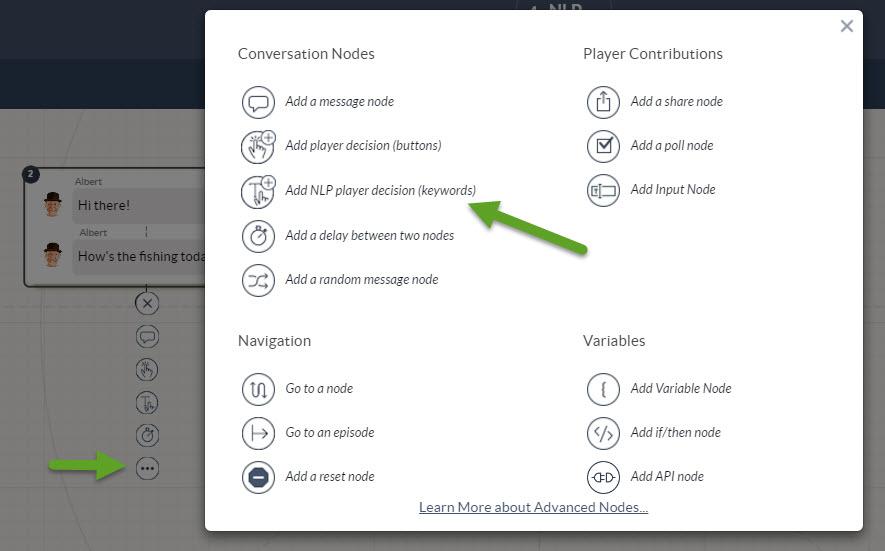
2. Or, you can click on the Advanced Nodes icon, and open up the Advanced Nodes menu:
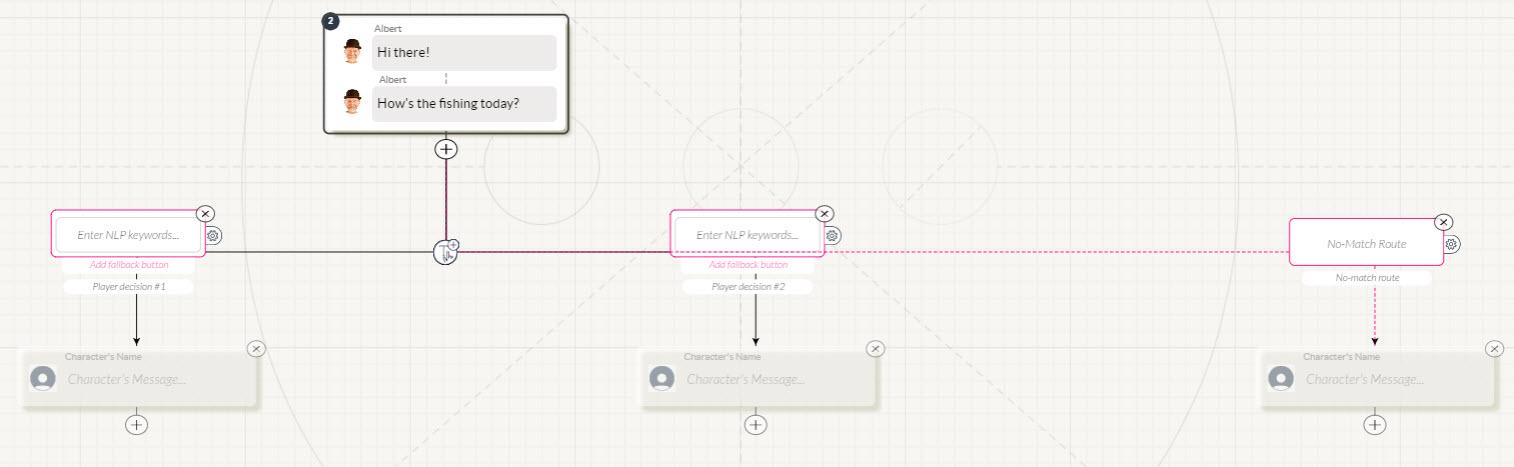
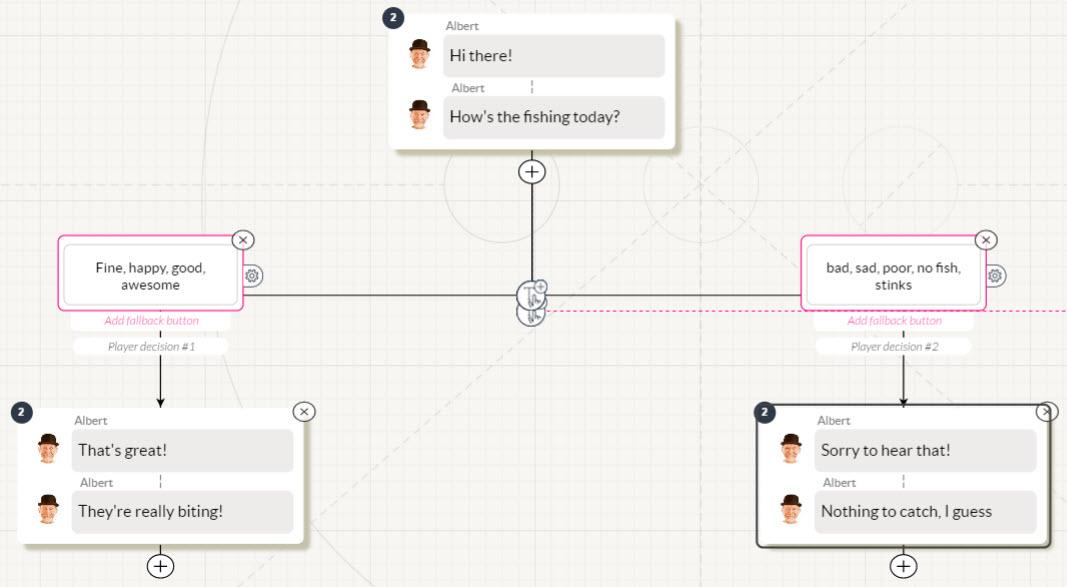
3. When you add new NLP player choices, a set of new nodes will appear:
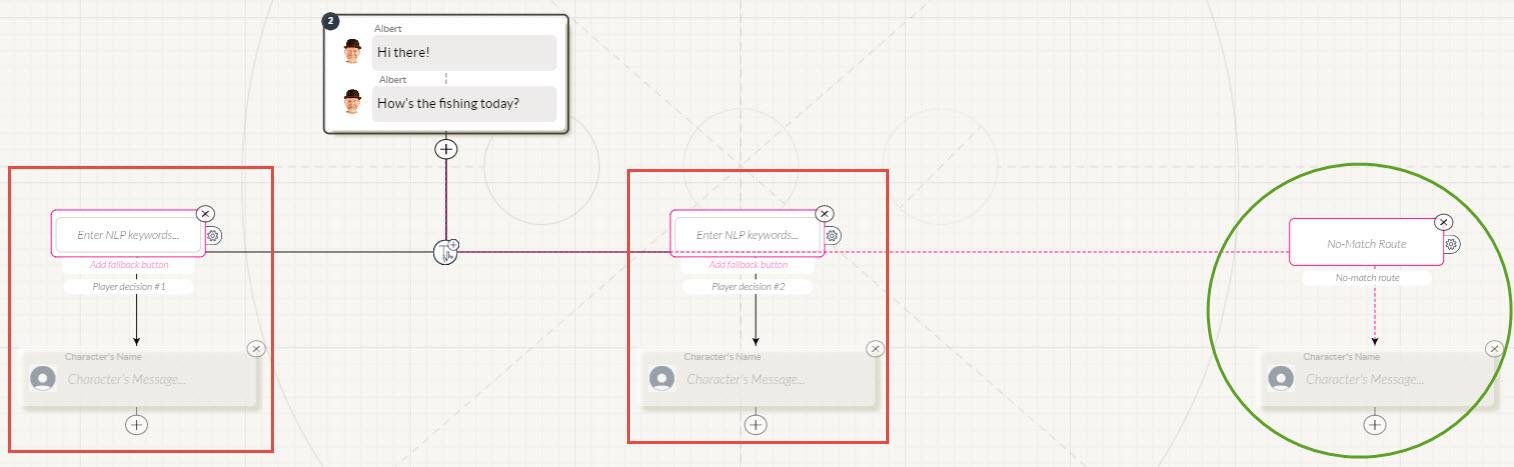
4. To illustrate, in the example below, the two red boxes highlight two different Keyword nodes. The green circle highlights the "No-Match Route". (More on the "No-Match Route" later.)
5. Click on the NLP node and enter your Keywords. Be sure to separate each word with a comma.
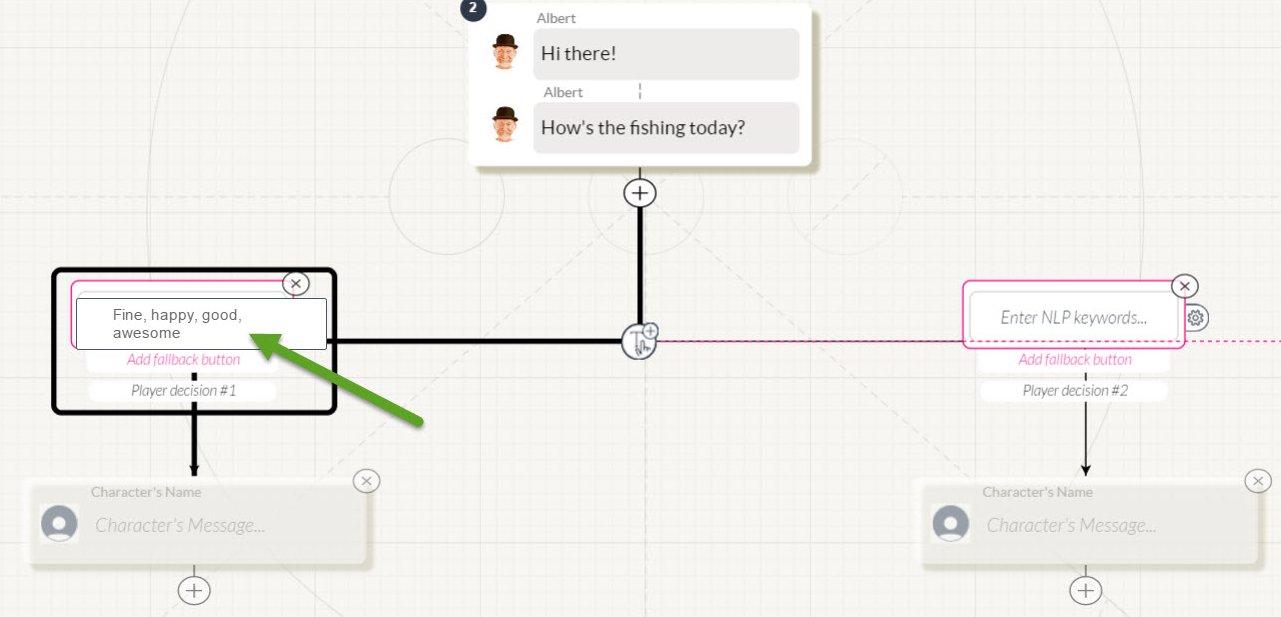
6. Here's what some filled-out NLP nodes might look like:
Each Keyword node will look for those specific words and their synonyms, and then flow down that particular path. But, oh no! What if the player inputs something that doesn't match any of these Keywords?! Patience, Padawan...
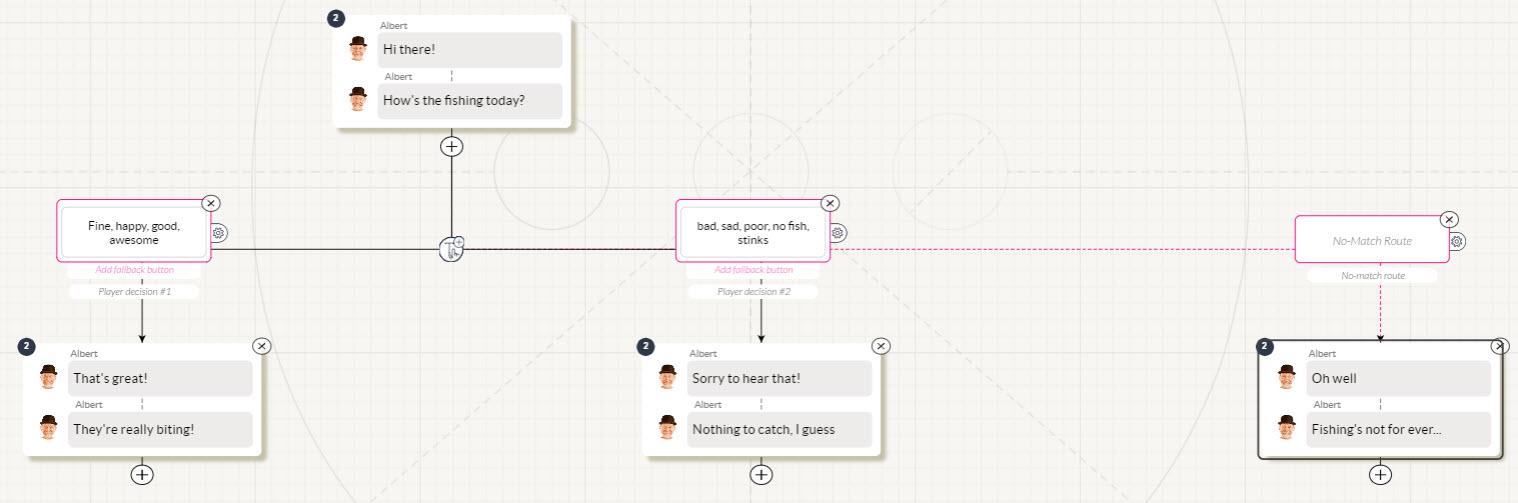
7. Remember that "No-Match Route?" (In the example below , it's sitting over on the far right side.) Yup. You guessed it. If the player's input doesn't match any of your other Keywords, the logic will flow down the "No-Match Route." This node doesn't need Keywords. Think if it as your "catch-all" or "Jeez-I-never-imagined-someone-would-ever-say-that!" node.
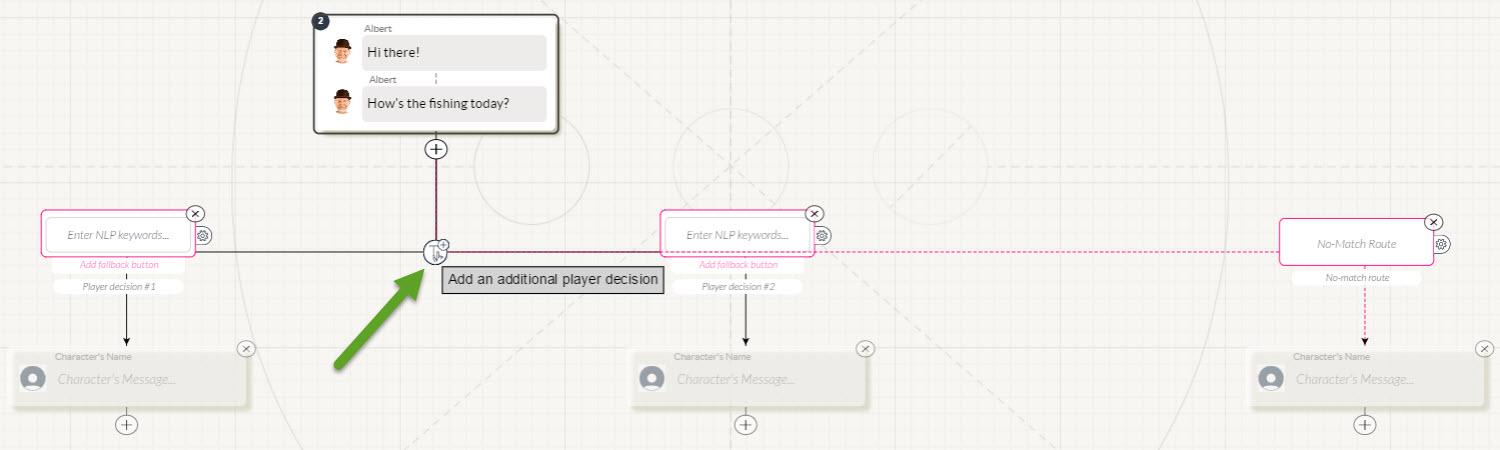
8. If you need additional Keyword nodes, just click on the icon thingie under the upper node. It will create a brand new NLP Choice node over on the far side of the tree.
There you go! Pretty simple. For even more wonderfulness, check out the next NLP FAQ.
Customer support service by UserEcho